The Creality CR10S – Pro has come along at a perfect time for me. I’ve been looking for an additional FDM printer for some time and had been attracted by
Unboxing
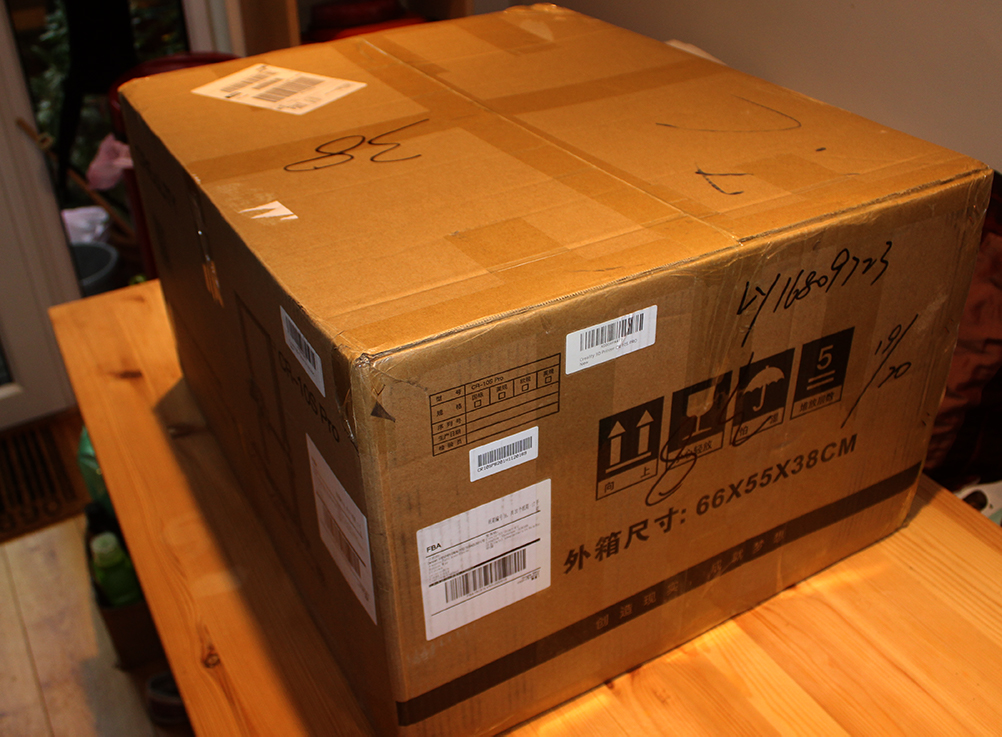
The box is as large as you’d expect for a printer of this size & type, though not especially heavy. It looks huge here sat on the kitchen table (the only place I had room to do the build!), but a lot of that is the packaging.

Opening the box reveals a vast empty space in the centre and the thick padding either side and to the top and bottom, with the two main printer parts comfortably held in the centre. There’s no way to remove anything individually from the box, you’ll have to lift the entire interior packaging and all from the box and onto your work surface and this will probably be a lot easier with a second pair of hands, although I did manage on my own.
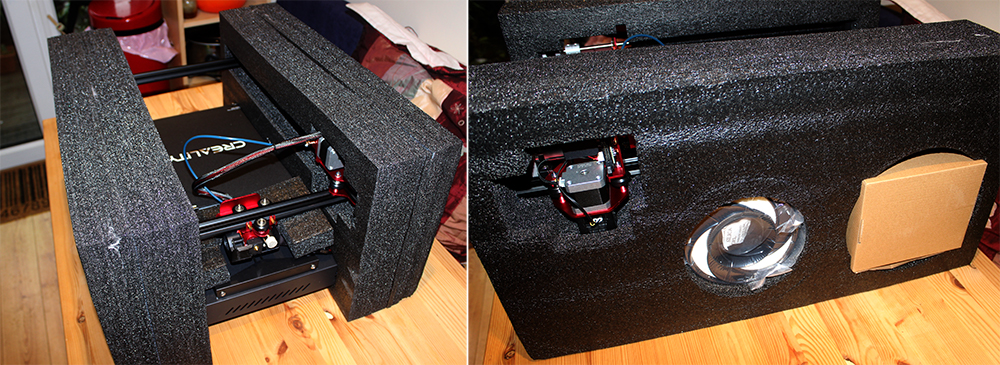
On one side of the packaging is the (very!) small reel of PLA filament (mine was a translucent white) and a box containing various tools, leads, screws and so on. Remove these and put them to one side.
I found the easiest way to removing the printer parts from the packaging was to turn the whole thing on its side with the side that had contained the reel and the box facing downwards.
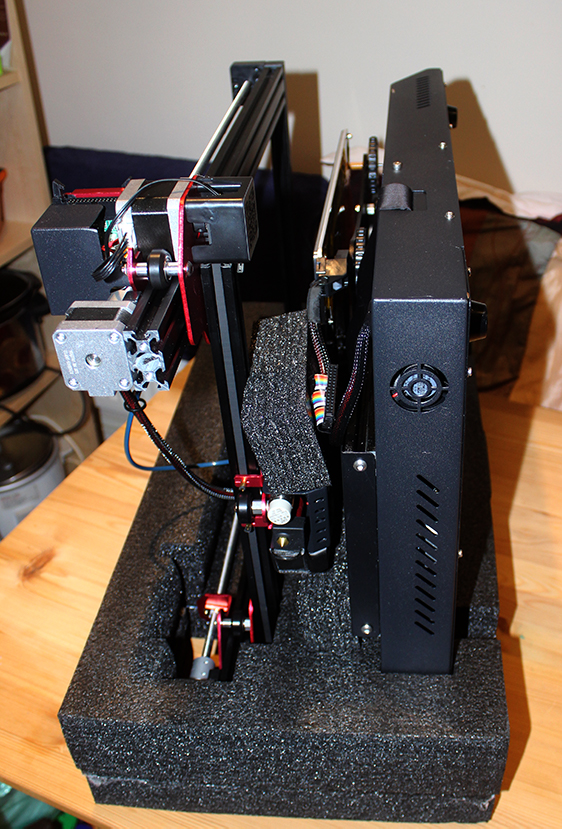
The top half of the packaging then comes away fairly easily, you can remove the small piece of extra packing (seen above in the centre of the photo) and can ease first the upper frame (to the left of picture) out, placing it somewhere safe, then the base itself.