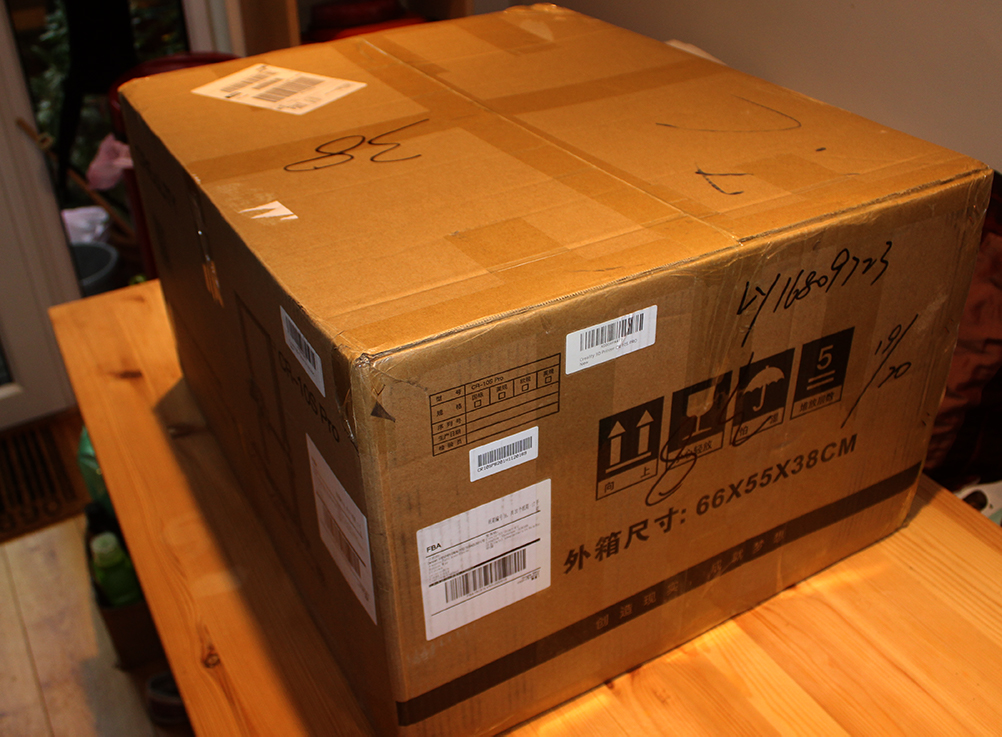
It’s been just over a week now since I received my Creality CR10S-Pro and, perhaps inevitably, I’ve hit my first real snag. This morning halfway through the first layer of a print there came the horrible sound of a printer in distress and by the time I could hit the power button the nozzle had buried itself into the print bed.
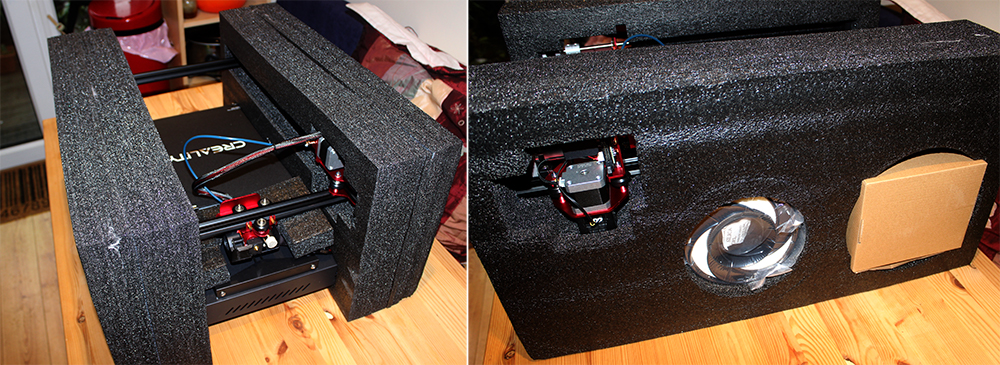
Everything looked fine from the front, although I did notice some
The brass lead-screw guide on one side was flapping around in the breeze. A (fairly) thorough search of the area revealed no random unclaimed screws on the floor or desk so I can only assume this part was never screwed into place. Regrettably, none of my unboxing photos have a clear shot of this side of the frame, all I have is this shot where the area in question is out of focus (not, for once, because of my poor camera work but because it’s in the background).
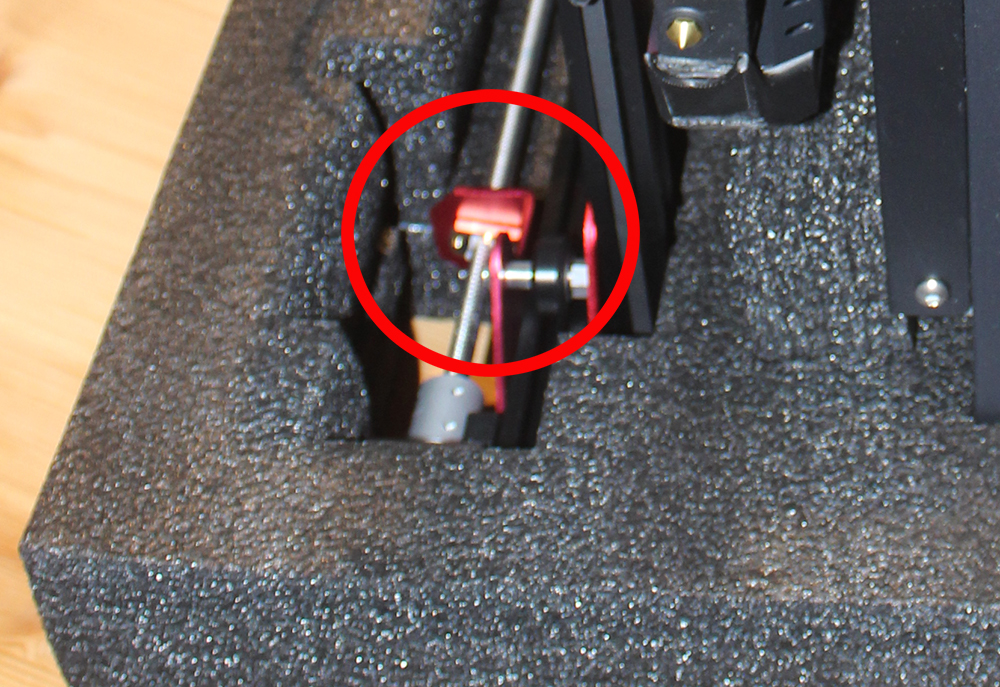
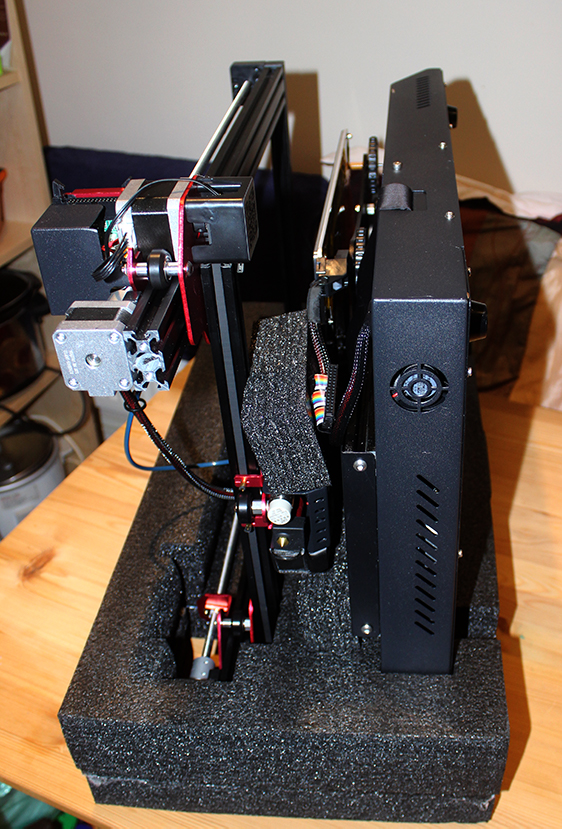
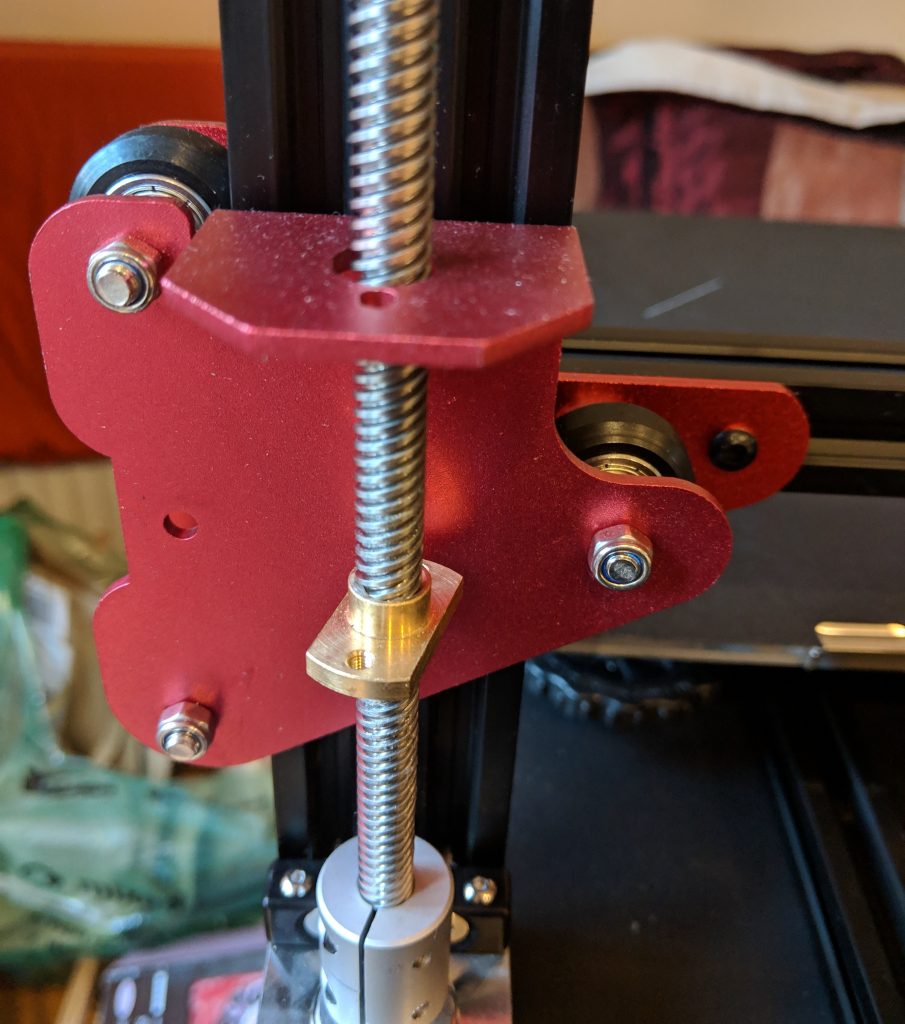
It’s really not possible to see if there are any screws in place, especially as I don’t know how far, if at all, they should protrude beyond the bottom of the guide, but to my eyes that brass piece doesn’t look parallel to the mounting plate, which it would have to be if both screws were in place and tight.
A check of the other side revealed that while this had both screws in place, they were loose so the z-axis was held in place virtually by its fingernails.
It’s really rather annoying that I don’t know the state of either of these guides upon first build. IF this loose fitting/missing screws was the cause of the z-axis crash (and it seems an incredible coincidence if it wasn’t), then it seems odd that the first test print and about half-a-dozen subsequent prints have all been fine. More worrying is that the second layer of my reprint following my repairs (luckily I had some spare screws to fix the unattached guide in place) and recalibration is still looking a little “wavy” whereas previous prints had all been perfect.
The residue on the x-axis rollers looks like it might be rubber “dust” from where the rollers are wearing on the metal cross-piece. Hopefully this will be a one-off because they’re new and not continual wear because there was a relatively substantial build-up and if that’s just a week or so of printing these rollers will have worn away in a few months.
I’ll continue to look for why the layers seem inconsistent now but if you’re considering a CR10S-Pro please do check ALL the screws and fittings you can see and make sure everything is tight that should be tight and nothing seems unattached!