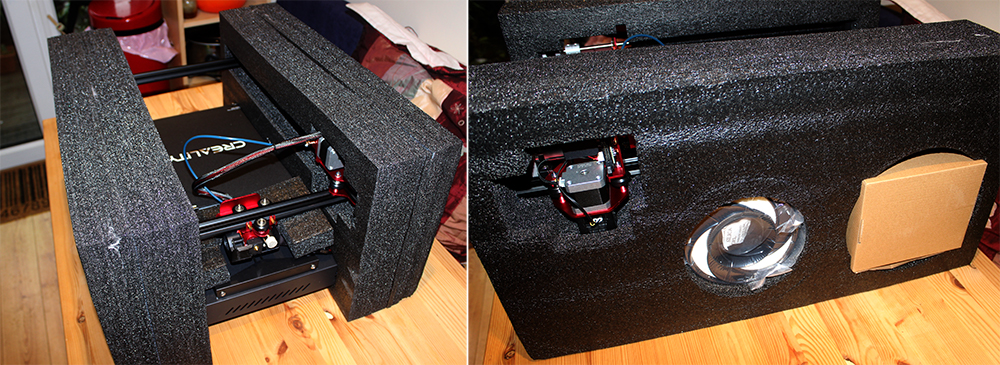
Just 5 minutes ago a friendly chap from DPD came to collect my CR10S-Pro and return it to Amazon. Why? Read on.
Earlier in the week the printer had completed a print – one that was pretty close to perfect in every way – and I turned it off for the night. The next morning I switched it on to start another – a print that was already on the SD card, prepared in Simplify3D using the exact same profile as the previous one – and at the initial “centre” calibration the printer does moving home to print the purge line the nozzle buried itself into the bed and the printer made that jammed motor sound we all hate to hear. It was exceptionally lucky I was still next to the printer when it happened as on any other day I would have been in another part of the building and may not have noticed this state for some time.
So what’s gone wrong? My first thought was that the bed sensor had failed but testing by raising the z-axis and allowing it to start to lower showed that the sensor was triggering, or at least that the LED on top was lighting/going off appropriately when something came near, but the z-axis just kept on lowering. The simple explanation would be that the sensor was being ignored, which might suggest a broken cable or loose plug, but given that the sensor had power this seemed unlikely.
The worst part of the problem though is actually in the design of the firmware. With the sensor or firmware clearly having a problem sensing the bed my next thought was “OK, let’s just go with manual levelling”, but with the CR10S-Pro there’s no way to do that. Even choosing the levelling top-level menu item, not even any actual action, causes the printer to carry out this centre point calibration and, of course, this caused it to crash into the bed so I could do nothing, at least not without taking the thing apart.
So why didn’t I try to fix it? For a start it was only 6 weeks old and had accumulated no more than about 30 hours of printing. A loose screw is one thing, what appears to be a hardware failure after such a short time is another. More importantly there are other issues with the CR10S-Pro that strongly indicate the machine has been rushed out of the factory.
I’ve mentioned in a previous post that the filament path from the reel to the runout sensor causes stress and scraping of the filament. OK, it was solved by a couple of simple 3D printed parts I made up, but this problem would have been obvious to anyone that actually watched the printer working so you’ve got to ask how much “burn in” this model actually had.
Then there’s the dust on the rollers. I saw this building up after just a couple of prints and it continued to be a problem thereafter. This has to be wear on the rollers and given the amount of dust being produced I can’t see how they’d last more than 6 months without wear introducing inaccuracy in the extruder carriage movement.
Lastly, but by no means least, there’s the bed sensor itself. This is a capacitive sensor, one that detects practically anything, not just metal, and capacitive sensors are known to be highly susceptible to changes in environment like temperature or humidity. Not only this, but I’d already been concerned that each measurement cycle of the automatic levelling process produced different readings from each point, even if carried out one immediately after the other. I’d seen different prints using the same profile from S3D produce dramatically different first layer quality after the auto-levelling process, it really did seem like luck of the draw.
All in all, after less than 6 weeks of ownership and really quite light printing (compared to my Prusa that runs virtually every day, all day), I’d spent way too much time trying to get the CR10S-Pro working properly. The decision to send it back was relatively easy to reach.
In many ways it’s a shame. The build quality was generally excellent, the full-colour screen nice to use and the menu system really quite good and easy to understand. When it worked well, the printer produced some outstanding prints – far better than my other older machines – but mine was just too darn flaky. When version 2 comes out and there’s evidence these problems have been addressed, the CR10S-Pro will make a fine value machine, but I’d hesitate to buy this first version.


